前言
众所周知,Butterfly的首页大图可以通过在 _config.yml 文件中中配置 index_img 选项来实现。
但是如果你用的是GitHub Pages来部署的,而你配置的首页大图的大小又有好几M,不算太小的话,有时候访问网站就会出现——先加载Butterfly框架出来,此时首页大图是蓝色的默认背景,然后才逐渐把你配置的大图加载出来——的这种情况。
我不喜欢这种情况,因为我希望别人一进网站就被我的首页大图震撼(bushi),如果图片是慢慢加载出来的话就没有那种震撼感了,甚至说体验感比较一般。所以我准备对Butterfly的源码魔改一波。
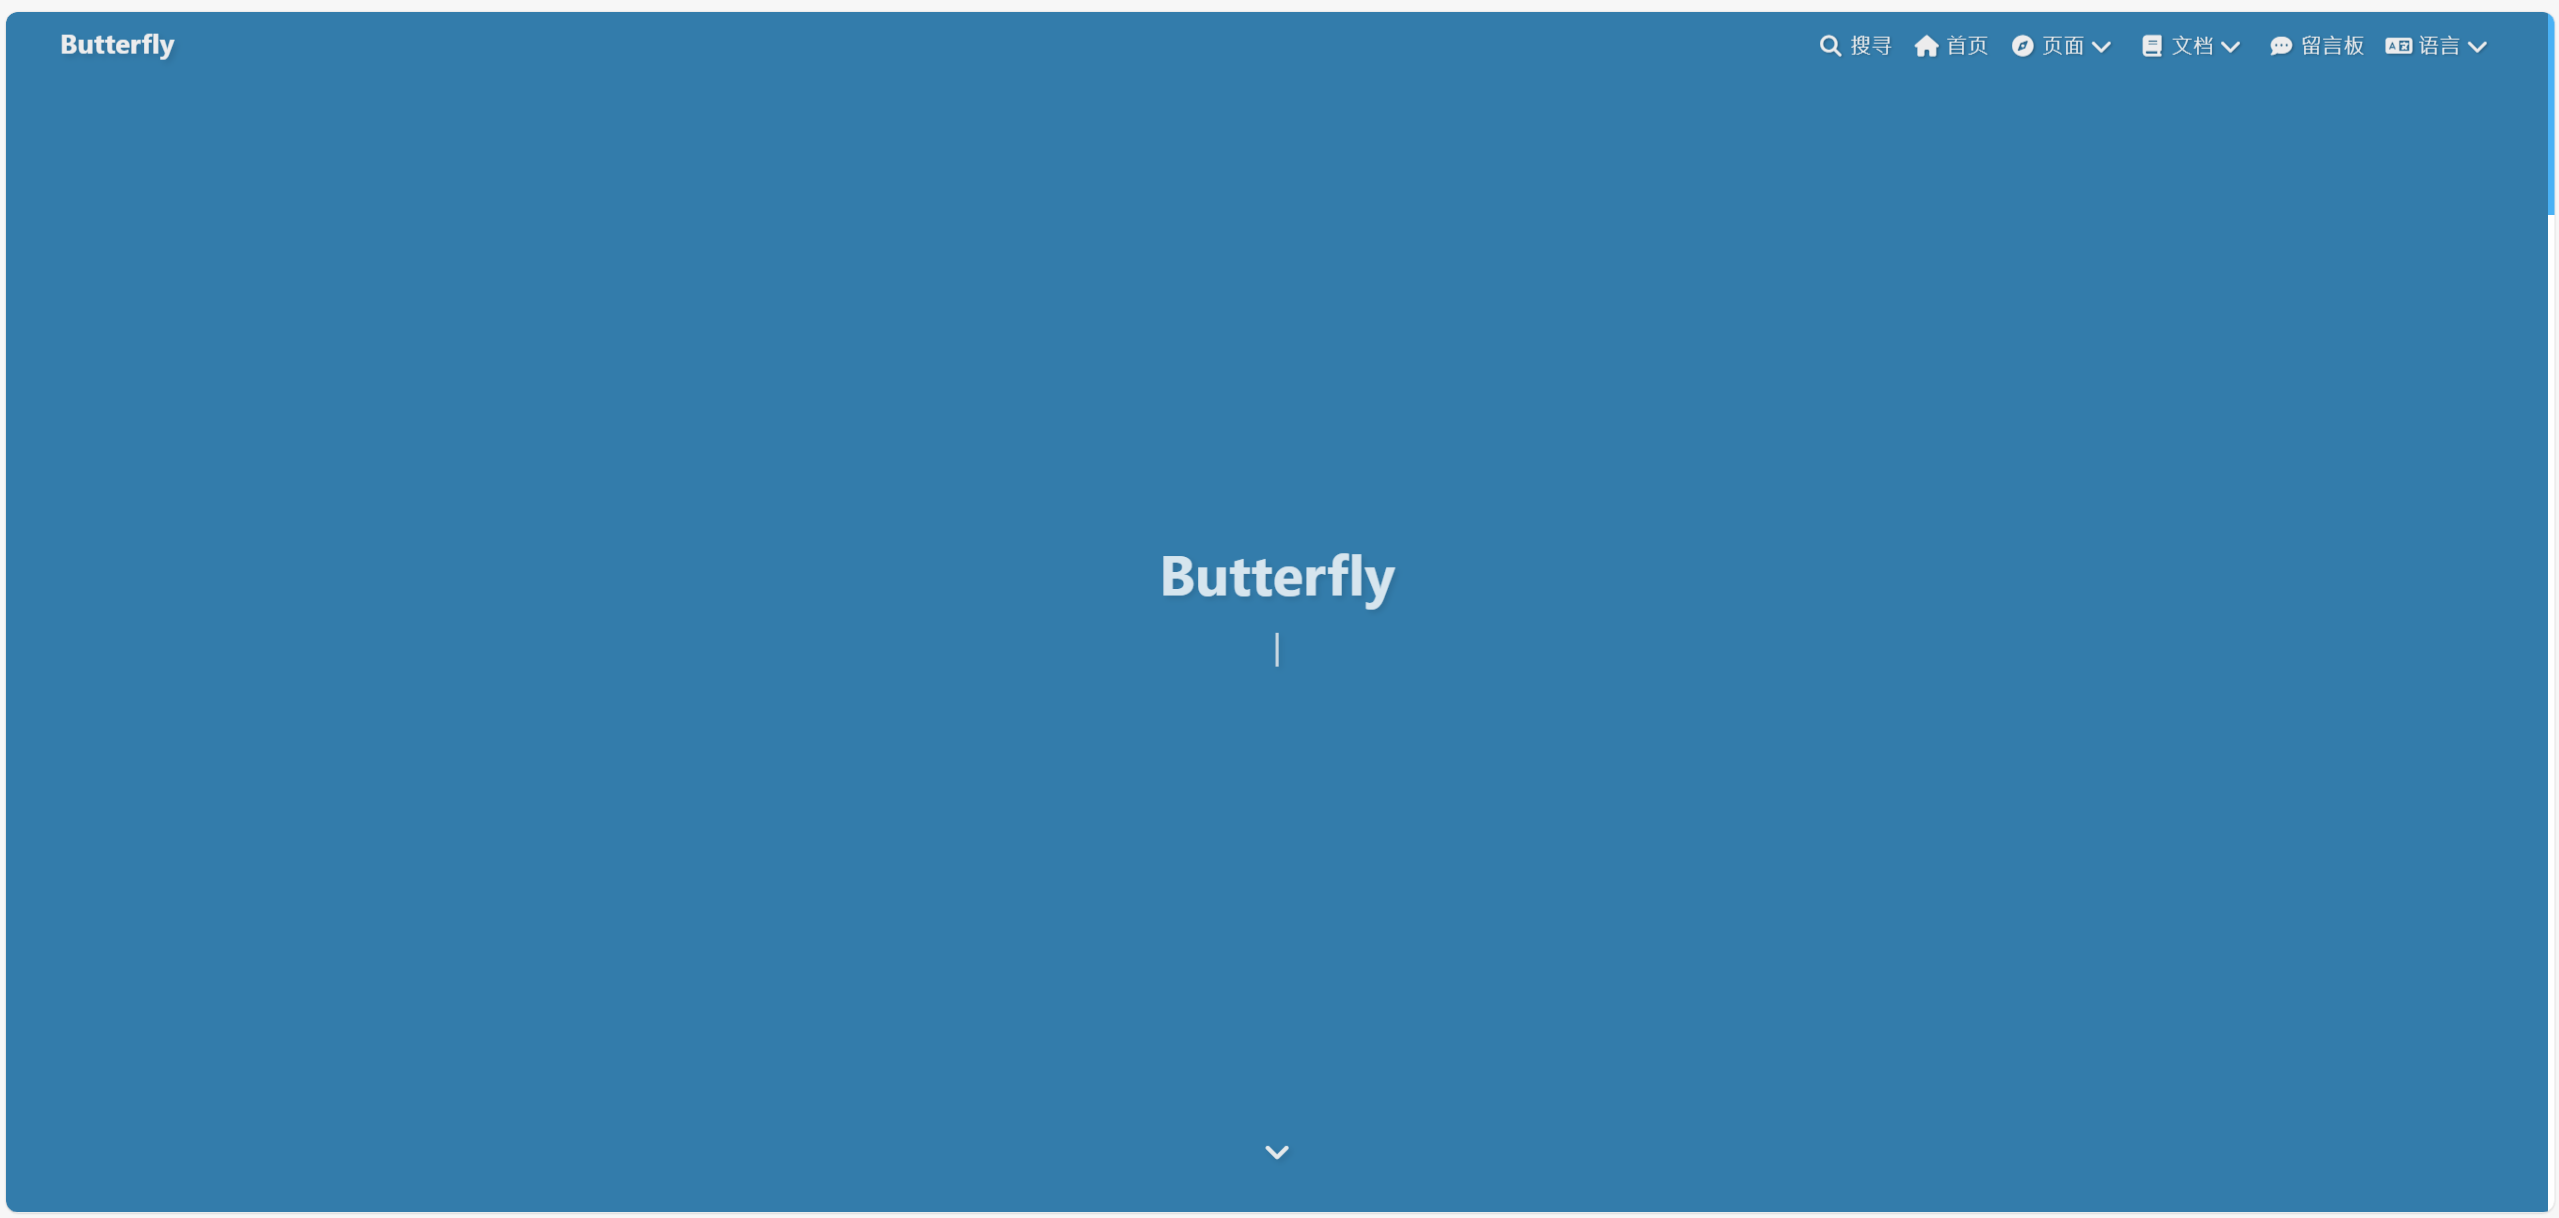
以下是Butterfly官方网站的加载情况,可以看到这个图片逐渐加载的现象:


方法1
现在我们来魔改一下源代码,以实现图片预加载的功能。
打开 themes/butterfly/layout/includes/layout.pug 这个文件,在 body 的最前面添加如下代码:
body(style="visibility: hidden; overflow: hidden;")

    !=partial('includes/loading/index', {}, {cache: true})
|
然后还是这个文件,拉到文件最后,会看到如下两行:
include ./rightside.pug
include ./additional-js.pug
|
在 include ./additional-js.pug 之前添加如下代码:
script.
    window.onload = function() {
    document.body.style.visibility = 'hidden';
    document.body.style.overflow = 'hidden';
    var fullPageElement = document.querySelector('.full_page, .post-bg');

    if (fullPageElement) {
        //- console.log('Full-page element detected.');

        var style = window.getComputedStyle(fullPageElement);
        var backgroundImage = style.backgroundImage;
        //- console.log('Background image:', backgroundImage);

        // 提取 URL,去除前5个字符和后2个字符
        var imageUrl = backgroundImage.slice(5, -2);
        //- console.log('Background image URL:', imageUrl);

        if (imageUrl && imageUrl !== 'none') {
        var img = new Image();
        img.crossOrigin = "anonymous"; // 如果有跨域问题,尝试添加这行

        img.onload = function() {
            //- console.log('Background image loaded.');
            document.body.style.visibility = 'visible';
            document.body.style.overflow = 'auto';
        };

        img.onerror = function() {
            //- console.error('Failed to load background image.');
            document.body.style.visibility = 'visible';
            document.body.style.overflow = 'auto';
        };

        // 确保图片路径是正确的
        img.src = imageUrl;
        } else {
        //- console.log('No background image found.');
        document.body.style.visibility = 'visible';
        document.body.style.overflow = 'auto';
        }
    } else {
        //- console.log('No full-page element detected.');
        document.body.style.visibility = 'visible';
        document.body.style.overflow = 'auto';
    }
    };
|
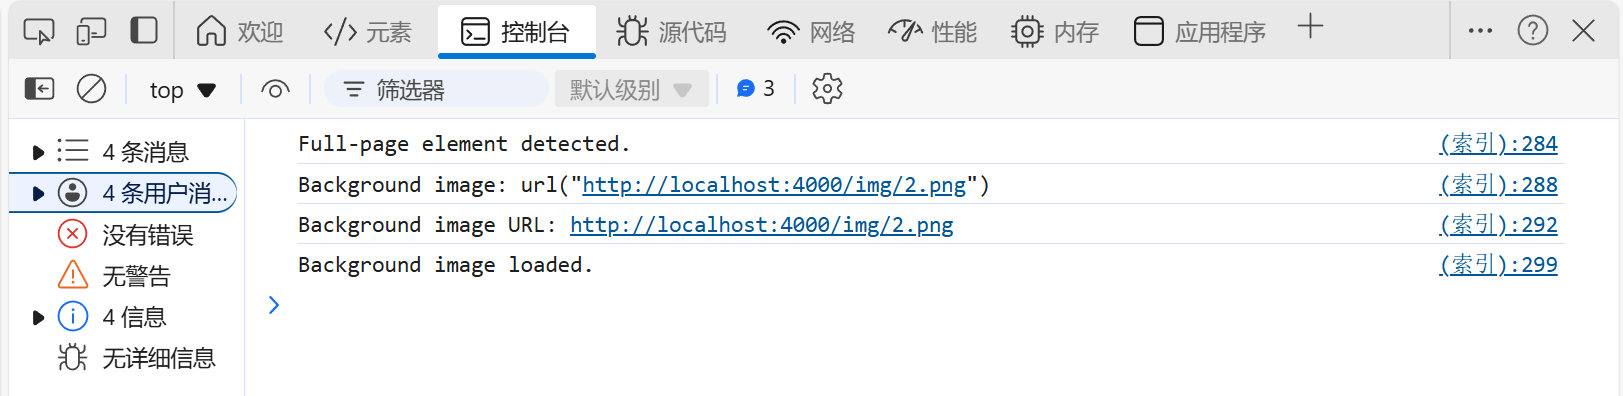
代码中有 console.log 用来调试,取消注释后编译本地浏览打开首页,按F12进到终端,如果看到如下调试信息,则说明功能添加成功:
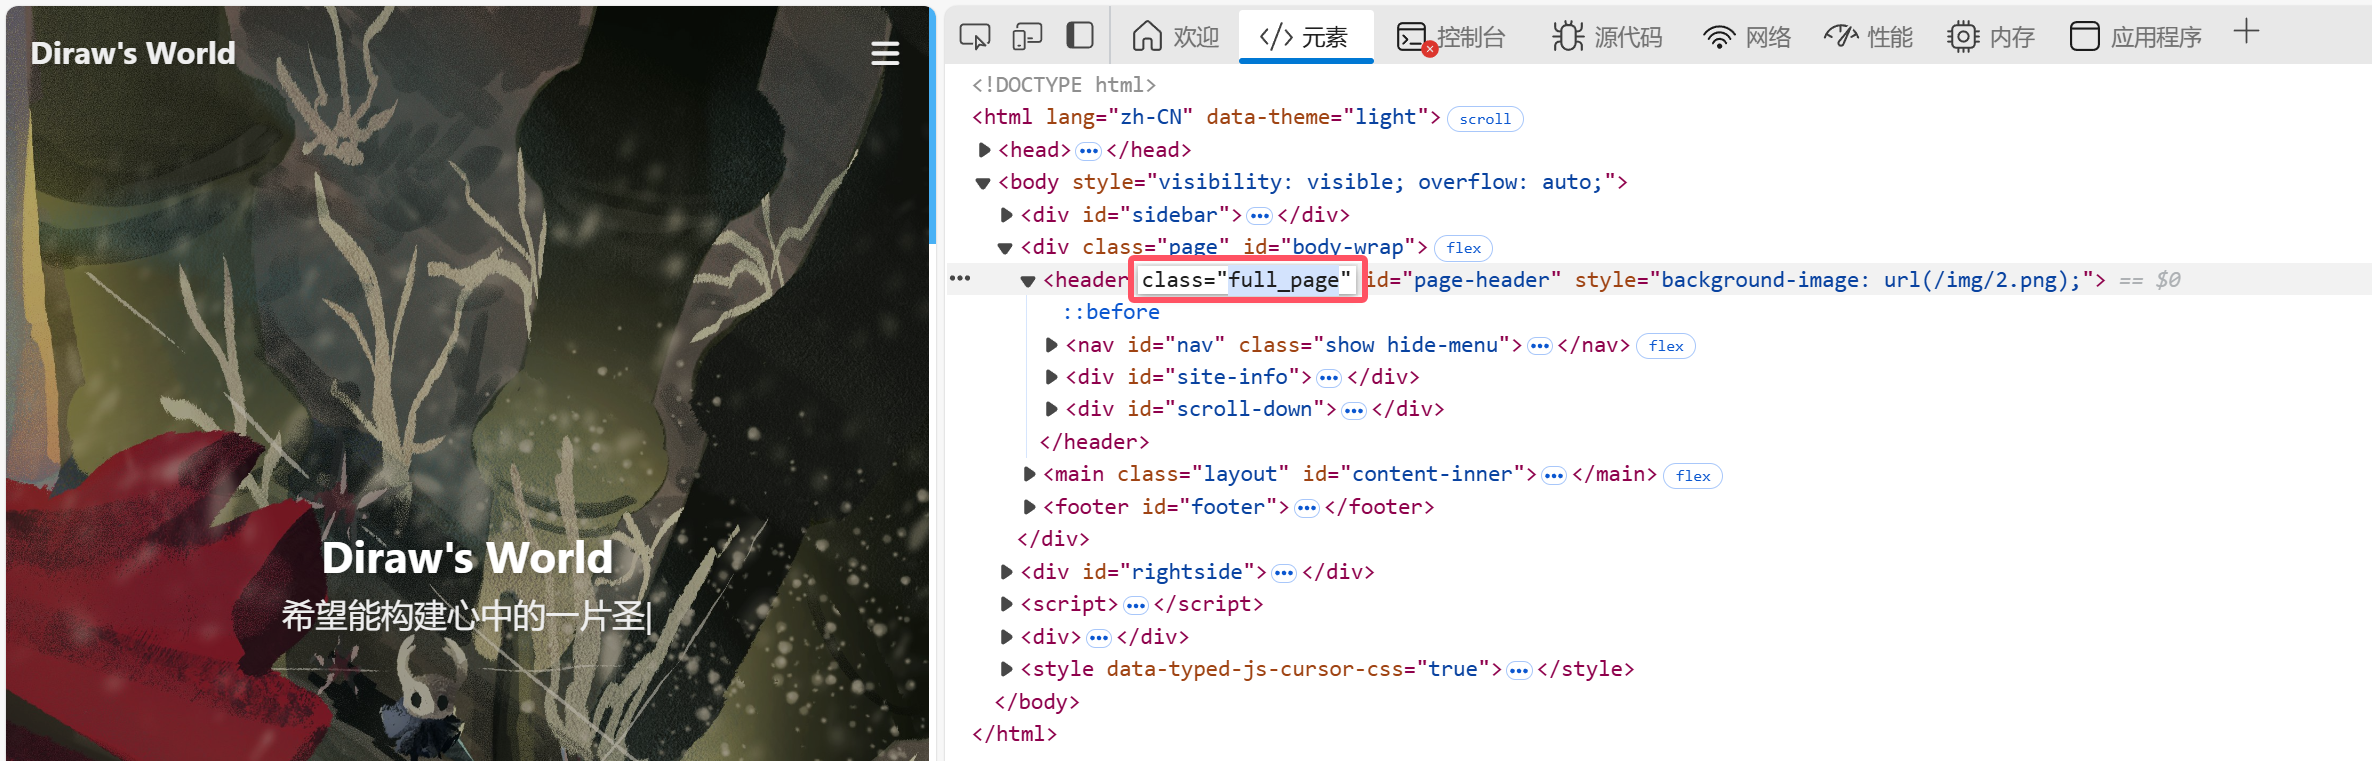
其中,.full_page 是首页的检测元素, .post-bg 是文章页面的检测元素,如下图所示:

方法2(推荐)
打开 themes/butterfly/layout/includes/layout.pug 这个文件,在 body 的最前面添加如下代码(这个和方法1是一样的):
body(style="visibility: hidden; overflow: hidden;")

    !=partial('includes/loading/index', {}, {cache: true})
|
然后跟着Butterfly魔改准备工作:文件管理魔改代码完成准备。
最后把之前的代码写成一个函数如下所示,把以下代码添加在 custom.js 最后(最外层):
function checkBackgroundImage() {
document.body.style.visibility = 'hidden';
document.body.style.overflow = 'hidden';
var fullPageElement = document.querySelector('.full_page, .post-bg');
if (fullPageElement) {
console.log('Full-page element detected.');
var style = window.getComputedStyle(fullPageElement);
var backgroundImage = style.backgroundImage;
console.log('Background image:', backgroundImage);
var imageUrl = backgroundImage.slice(5, -2);
console.log('Background image URL:', imageUrl);
if (imageUrl && imageUrl !== 'none') {
var img = new Image();
img.crossOrigin = "anonymous";
img.onload = function() {
console.log('Background image loaded.');
document.body.style.visibility = 'visible';
document.body.style.overflow = 'auto';
};
img.onerror = function() {
console.error('Failed to load background image.');
document.body.style.visibility = 'visible';
document.body.style.overflow = 'auto';
};
img.src = imageUrl;
} else {
console.log('No background image found.');
document.body.style.visibility = 'visible';
document.body.style.overflow = 'auto';
}
} else {
console.log('No full-page element detected.');
document.body.style.visibility = 'visible';
document.body.style.overflow = 'auto';
}
}
|
最后在 document.addEventListener('DOMContentLoaded', function () { }) 里面(如果没有就创建一个)最前面添加 checkBackgroundImage(); 即可,如下代码所示:
document.addEventListener('DOMContentLoaded', function () {
checkBackgroundImage();
});
|
注意
此篇教程只能实现刷新进入网站的时候执行功能,但是在网站页面之间进行跳转的时候却不起作用。
可能是如下原因:
1、单页应用(SPA)架构:页面之间的跳转实际上没有触发完整的页面加载,因此 window.onload 事件不会再次触发。
2、浏览器缓存:浏览器可能缓存了图像或页面状态,导致 onload 事件在页面跳转时不被触发。
3、JavaScript 框架的路由:使用 JavaScript 框架进行路由时,页面跳转通常不会刷新整个页面。
搞了很久还是不行,以后再来吧。